Assignment 7: Still Life Drawings
Read about the art of still lives to create a foundation for your next assignment. You can also download the PowerPoint version below.
| still_life_introduction_powerpoint.ppt |
Lets go back in time...to Africa!
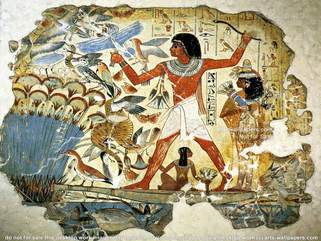
Still life paintings often adorned the interior walls of ancient Egyptian tombs. It was believed that food objects and other items depicted would, in the afterlife, become real and available for the deceased person.
Still life paintings often adorned the interior walls of ancient Egyptian tombs. It was believed that food objects and other items depicted would, in the afterlife, become real and available for the deceased person.
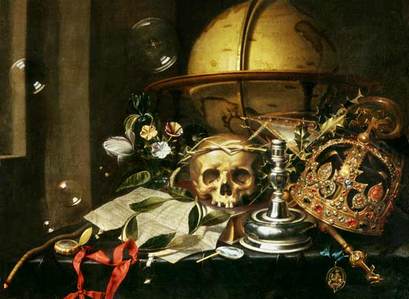
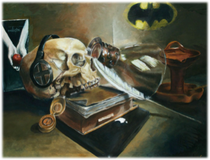
In the 16th and 17th century people began buying Vanitas paintings (like this picture on the left) in Europe for their homes. These paintings are also still lifes, but the object revealed tell us about human life both good and bad. Vanitas comes from Latin word Vanity (obsession over ones self). Think about the objects in the picture. The gold jewelry symbolizes wealth and an extreme love of wealth. The skull symbolized the afterlife or death. Artist would paint bubbles to also symbolize life itself. Vanitas paintings showed us about human life both good and bad. Every object is a symbols and represents something. Take a look at the picture. What do these objects remind you of? |
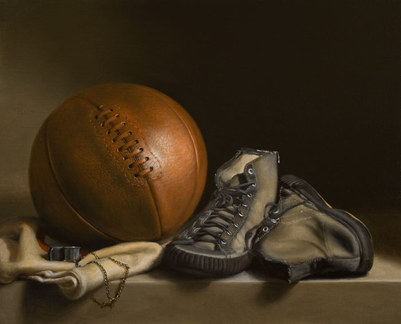
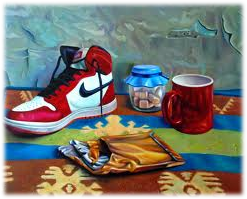
Objects show a slice of life. In this picture with the shoes and basketball you have an idea about what this person's hobby is. Objects represent a memory or idea. We see objects everyday. They are symbols for communication!
|
Quick Assignment
1. Practice Drawing Objects
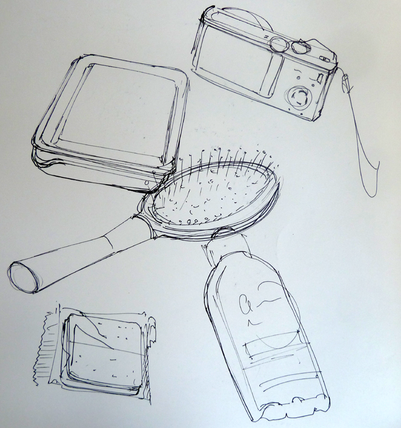
Practice drawing 5 different objects on a blank piece of paper with a pencil. This can be objects around the school, objects in your room, or objects in the art room. Just draw the contour lines, focusing on the outside with no shading.
2. Shading Techniques
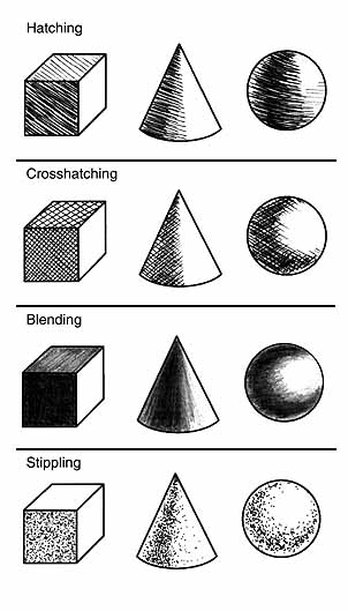
Chose ONE of the shapes on the left. With that shape draw each shading technique on scratch paper. You should have 4 shapes with 4 different techniques. Practice:
I. Hatching
II. Crosshatching
III. Blending
IV. Stippling (dots)
I. Hatching
II. Crosshatching
III. Blending
IV. Stippling (dots)
Art Material Practice
Grab a new piece of paper and practice drawing with the following art materials.
1. Draw a shape and shade it from light to dark with a pencil.
2. Practice blending colored pencils together and showing saturation.
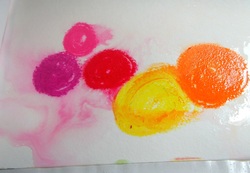
3. Practice blending oil pastel colors together.
4. Draw a shape and practice stippling and crosshatching shading techniques.
1. Draw a shape and shade it from light to dark with a pencil.
2. Practice blending colored pencils together and showing saturation.
3. Practice blending oil pastel colors together.
4. Draw a shape and practice stippling and crosshatching shading techniques.

|

|
Let's Draw from our very own classroom Still Life!
Assignment: Create a still life scene and draw from it. Group 5-10 objects together into a group on a table or desk. Draw those objects together. They can be are your house or from around the school. If you create a still life scene at home be sure to take a picture of it so you can work on it in class and reference the photo. You should never to drawing without looking at the still life for this assignment. Make a “composition frame” with your hand to find the best area that works for you. Start with Contour lines (no shading) Make the drawing balanced with ¾ of the drawing filled with objects with and the remainder ¼ empty space
PART II: Once you create a finished outline of the objects in your still life, break the drawing up into at least 4 different sections using 4 different art materials:
I.Pencil
II. Colored Pencil
III.Oil Pastels
IV.Choice (choose one of the materials but use a different shading technique …stippling, crosshatching, contour, scumbling)
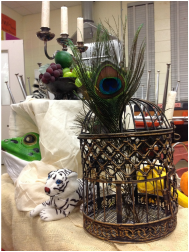
TIP** When choosing what to draw you want to find objects that your personally might enjoy drawing. Zooming in on an area, like a camera, allows you to show details in the objects. Choose between 4-6 objects to focus on drawing. In this picture we may only focus on the bird cage, feather, bowl of fruit, and the candles.
Grading CRITERIA For the assignment

|
1.Overlap objects 2.Make a focal point 3. Create a texture in at least one object 4. Show values (light and dark tones) in the picture Download the document below for shading technique examples.
| ||
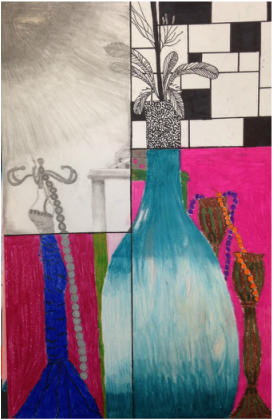
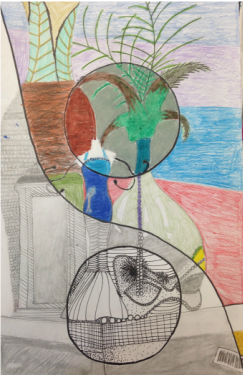
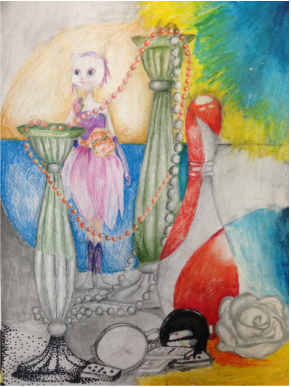
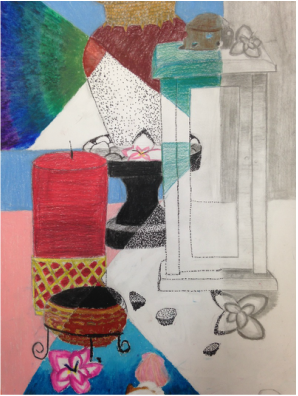
examples of assignment

|

|
